Pinning with Margaret: Halloween themed lights
October 6, 2016
The fall season is here in full swing and spooky fall decor is a necessity as Halloween approaches. Follow these steps to learn to assemble Halloween-themed string lights.
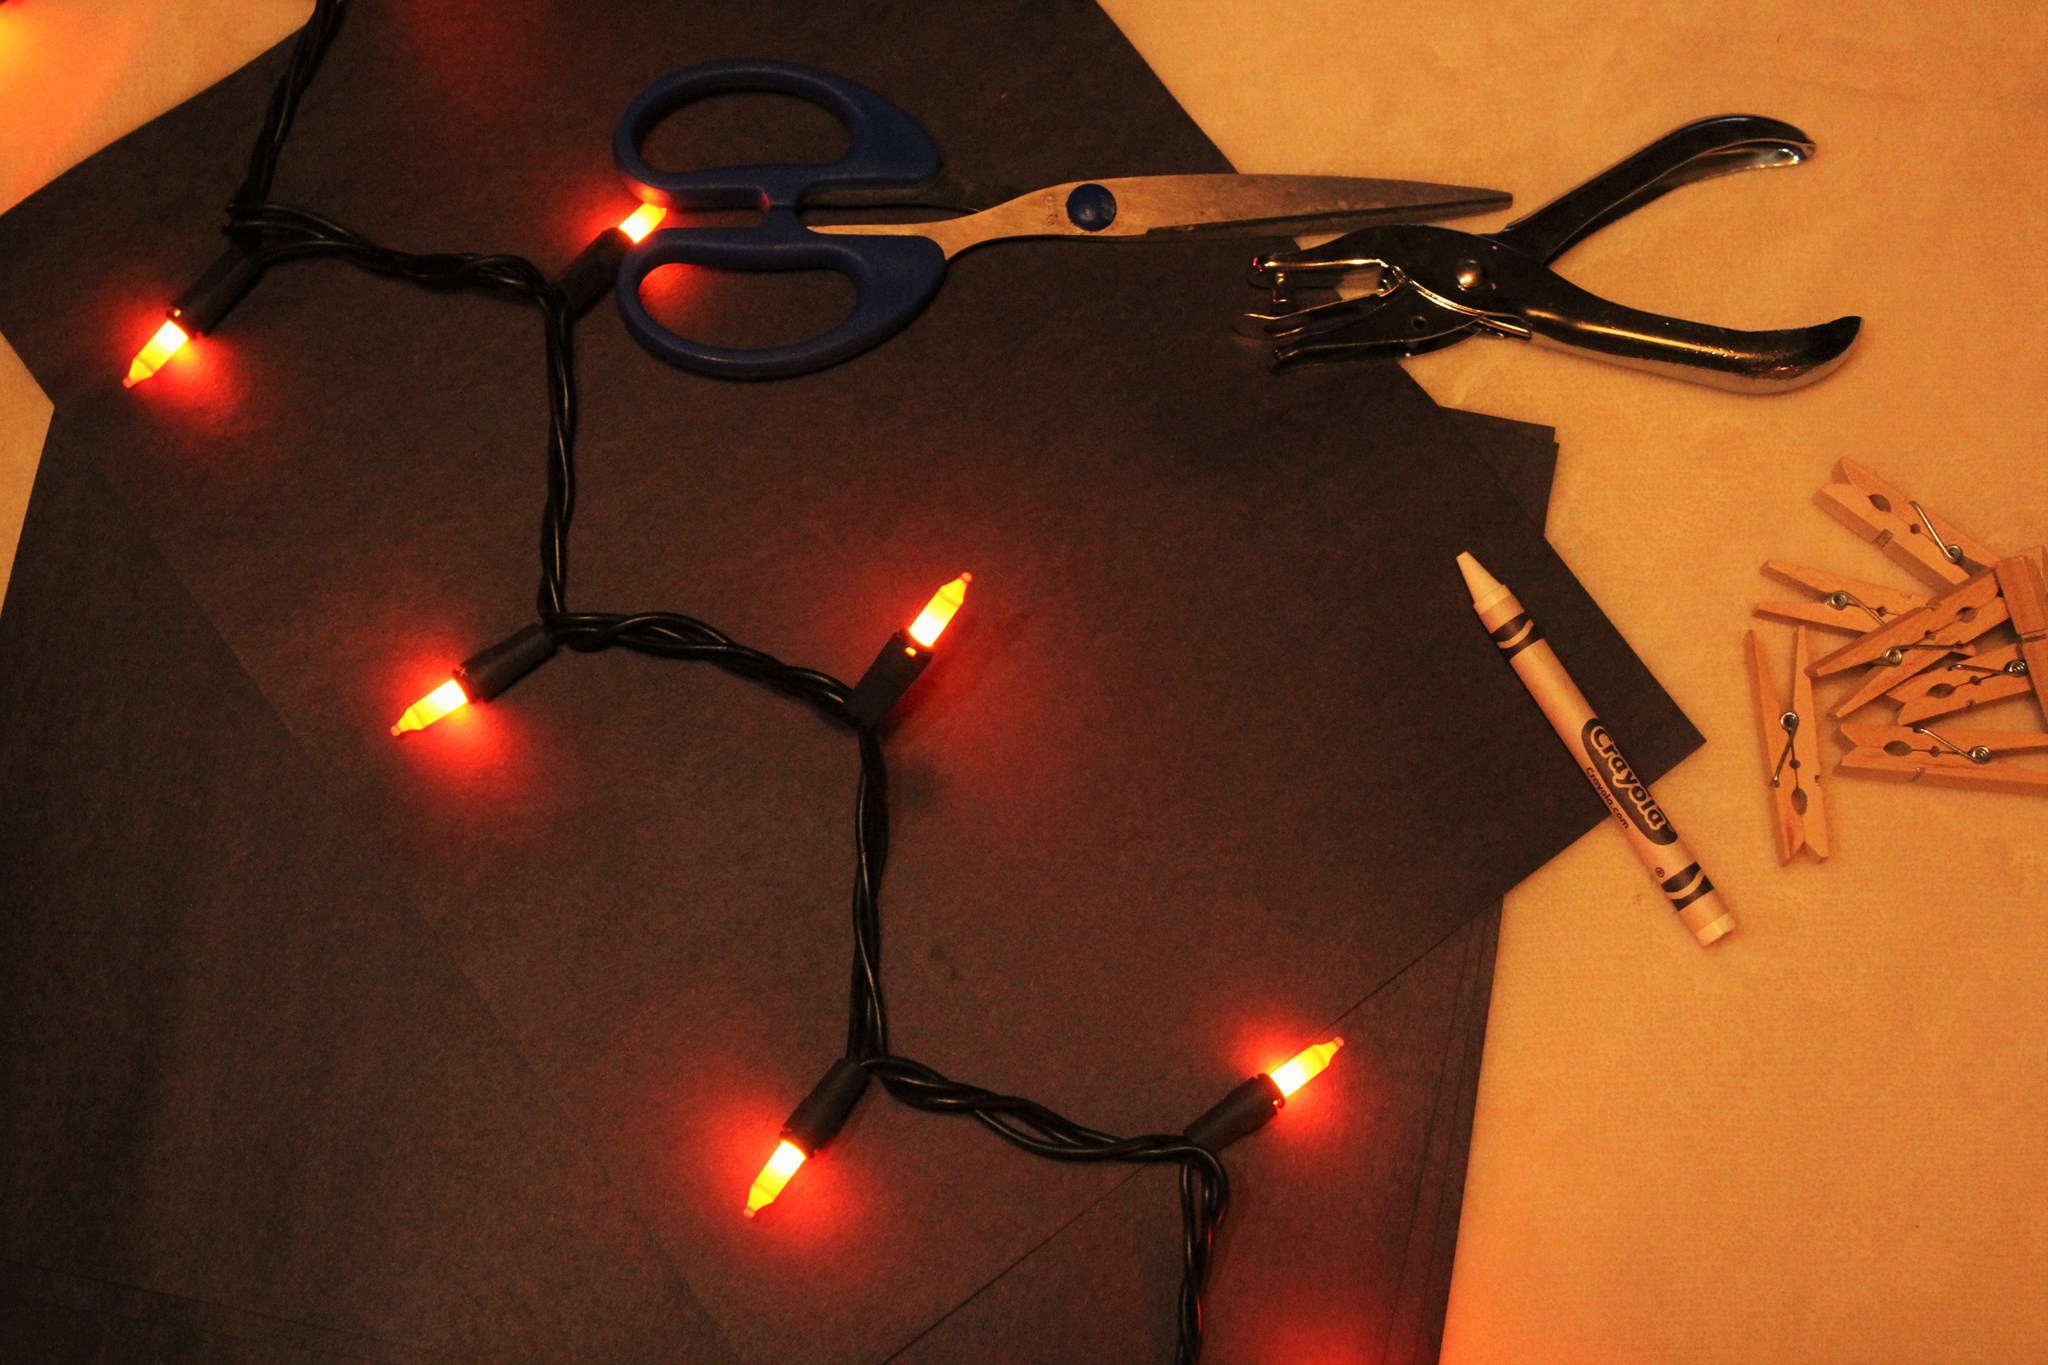 Photo credit/ Margaret Scott
What you will need:
• String lights
• Black construction paper
• Scissors
• Hole puncher
• Clothespins
• White crayon
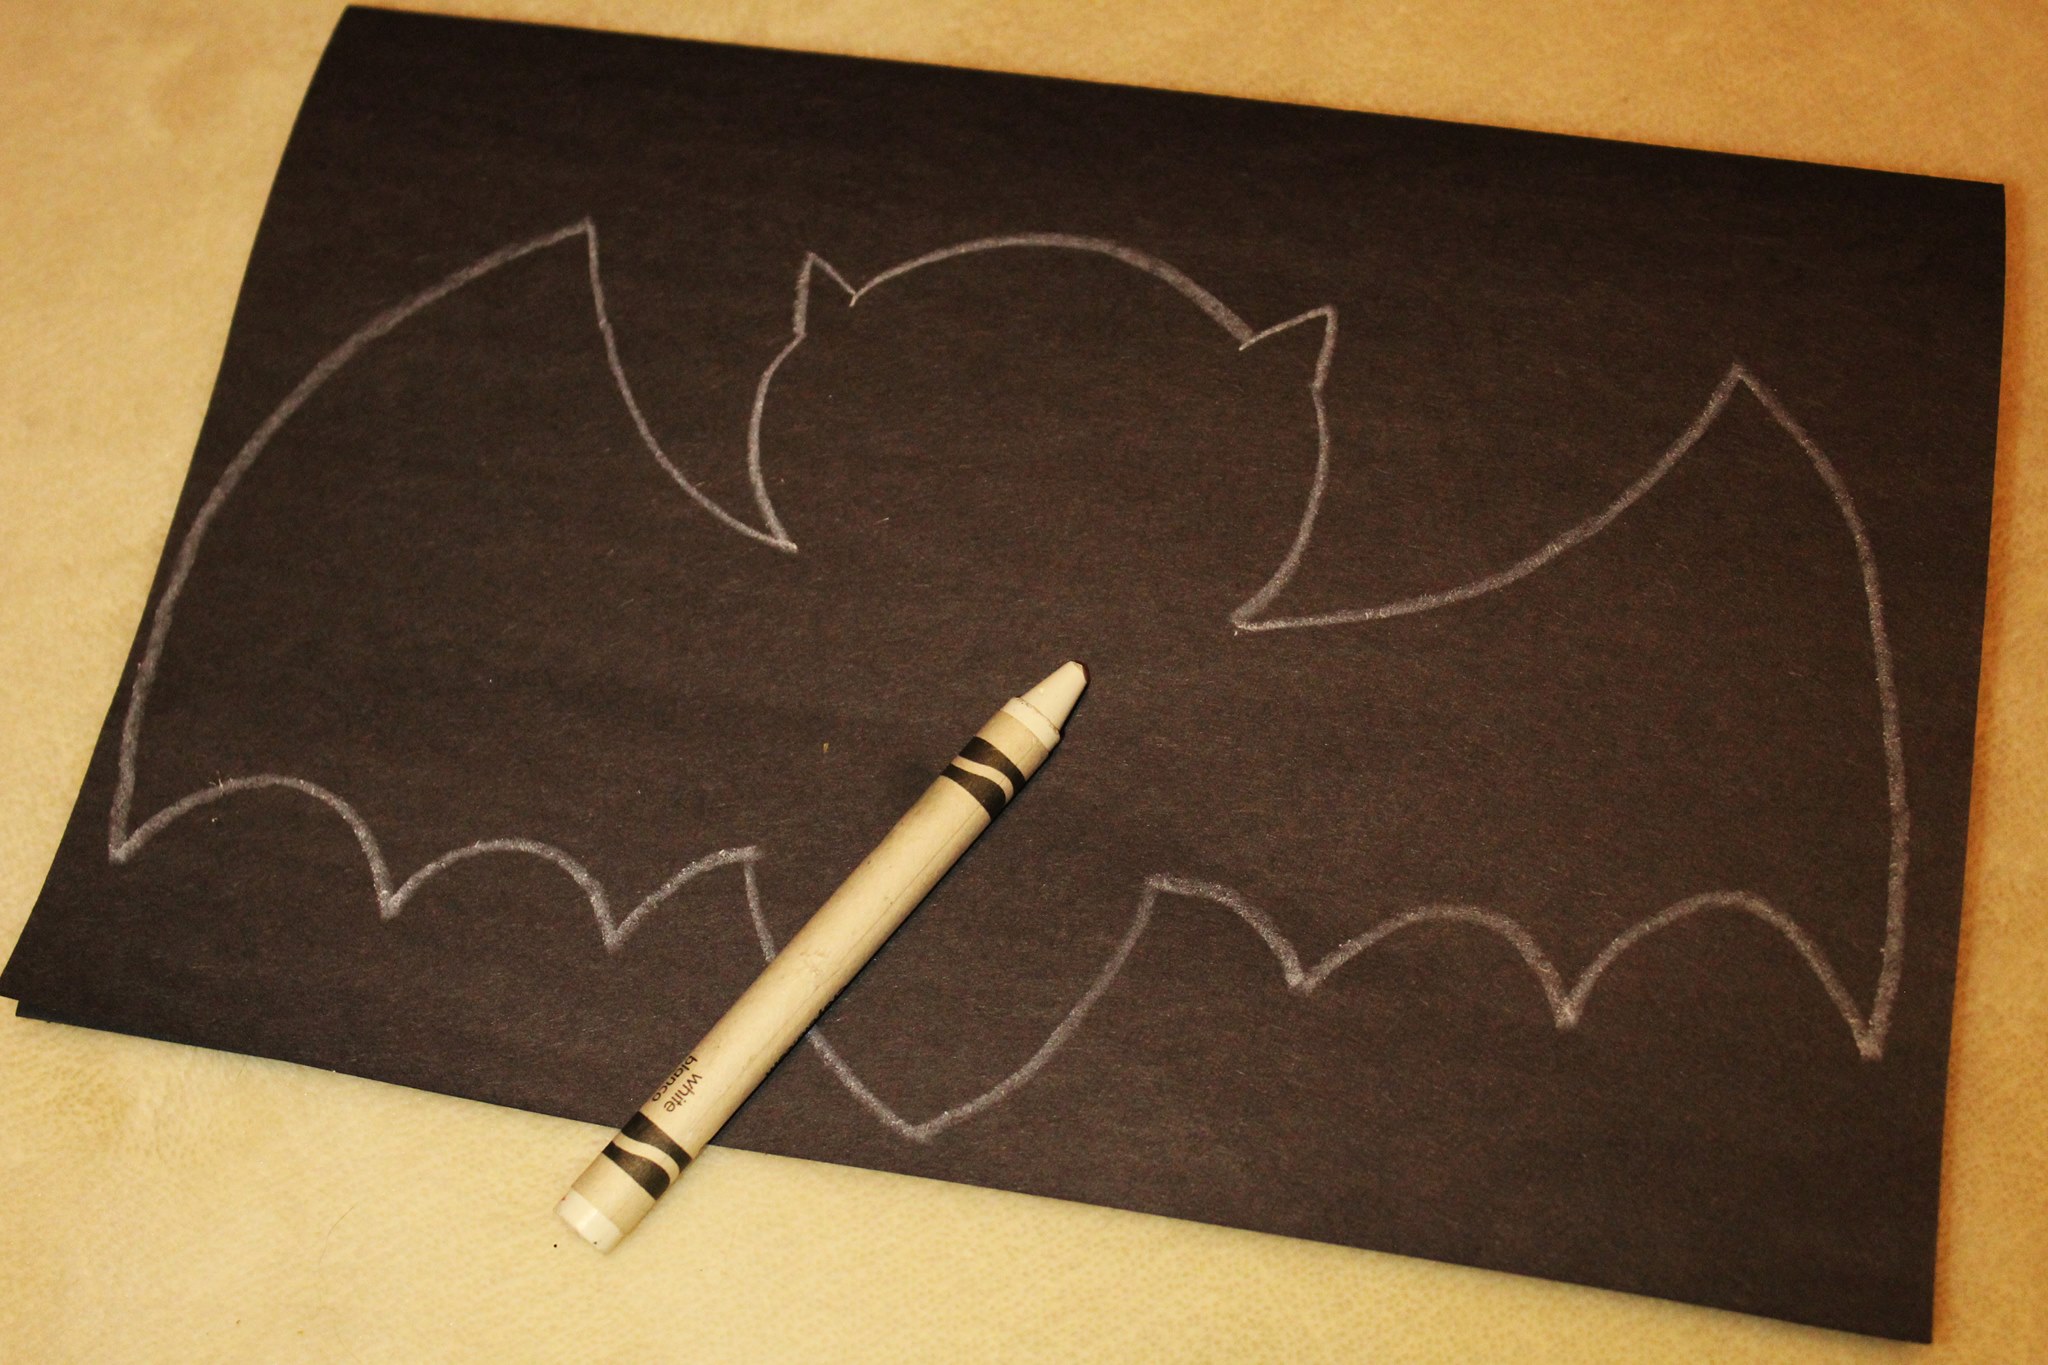
The first step is to fold the black construction paper horizontally.
Next, draw an outline of a bat on the paper with a white crayon. It is important to use a white crayon, or another light color, in order to see the lines. Cut the bat shape along these lines.
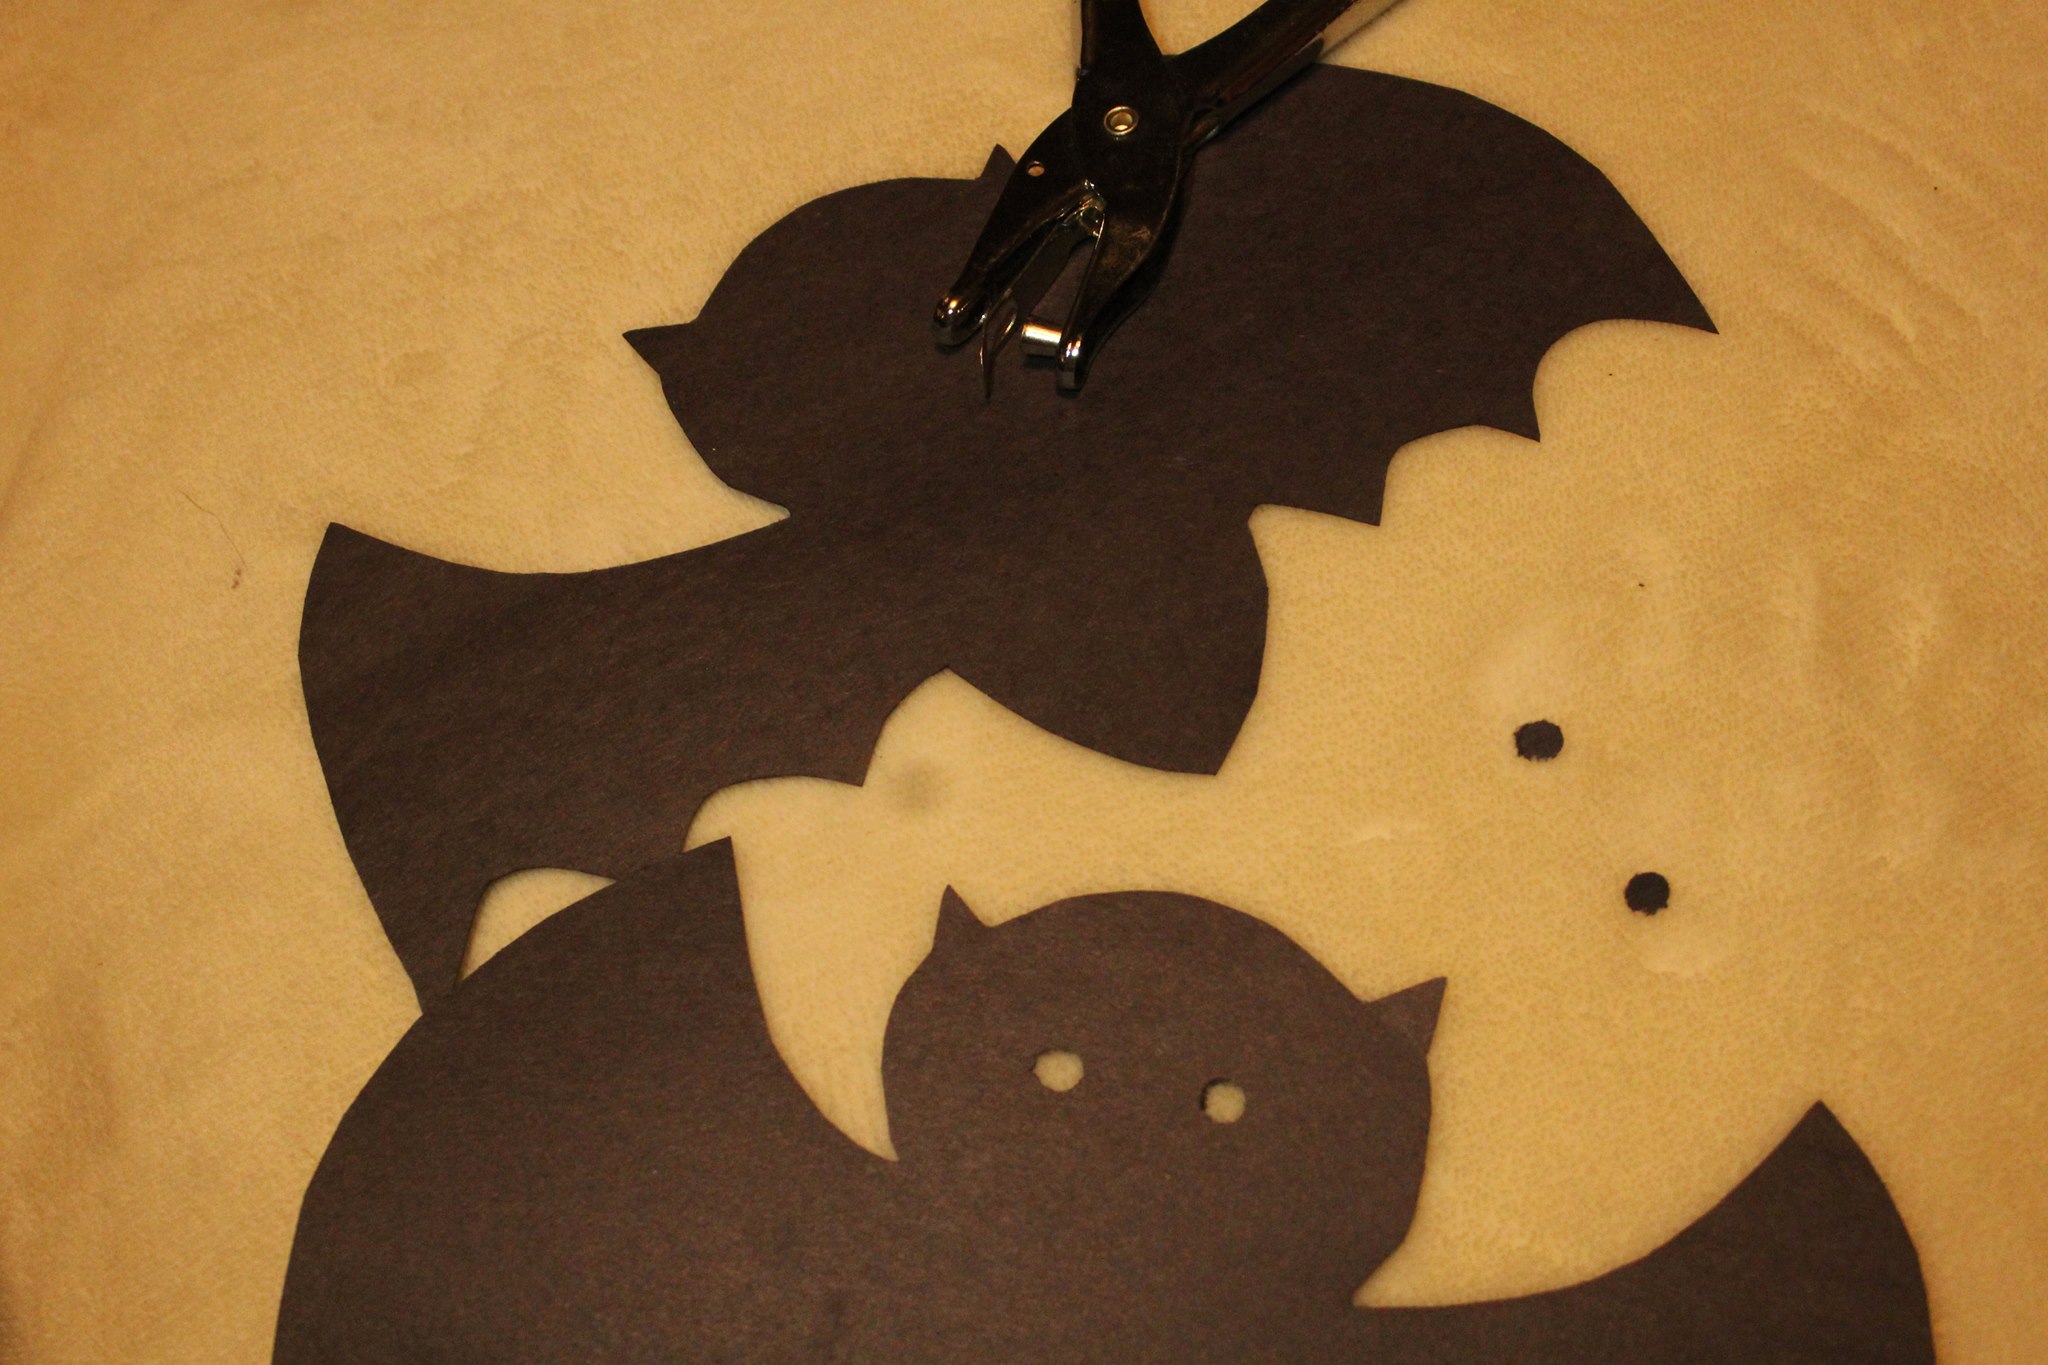
After drawing the outline, use the scissors to cut the white lines of the bat shape. Make sure to cut both sides of the paper to cut out two bat shapes.
Use the hole puncher to carefully punch two holes on the top of the bat shape, which will resemble the eyes.
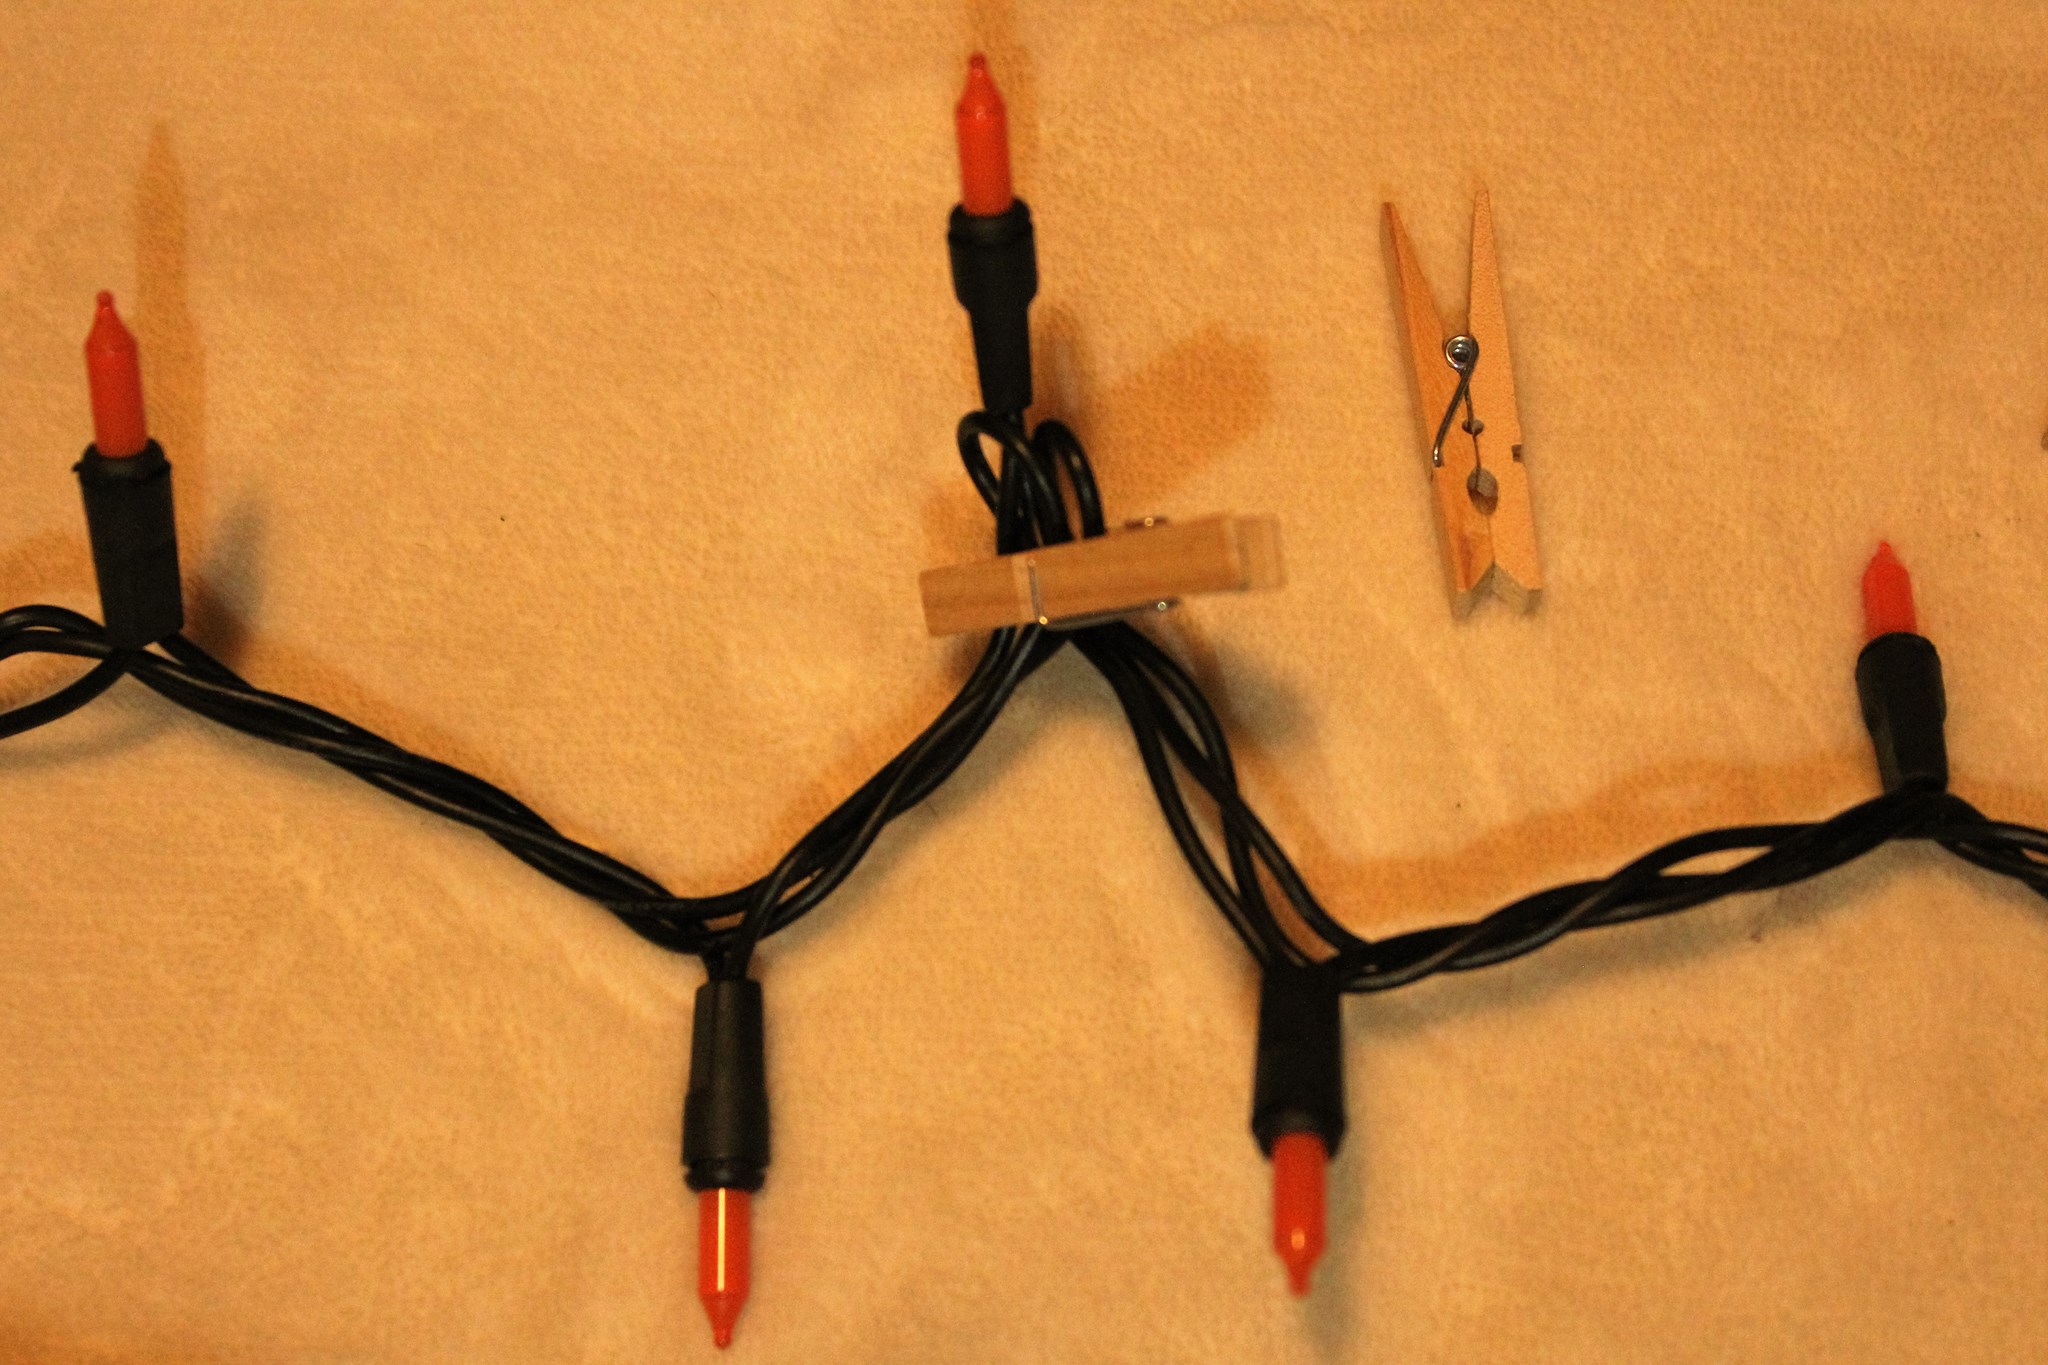
The next step is to set up the string lights. The easiest way to accomplish this is to take a clothespin and pin back every other light. For example, if there are three lights in a row, secure the clothespin on either side of the one in the middle.
Completing this step will keep the bat balanced on the string lights.
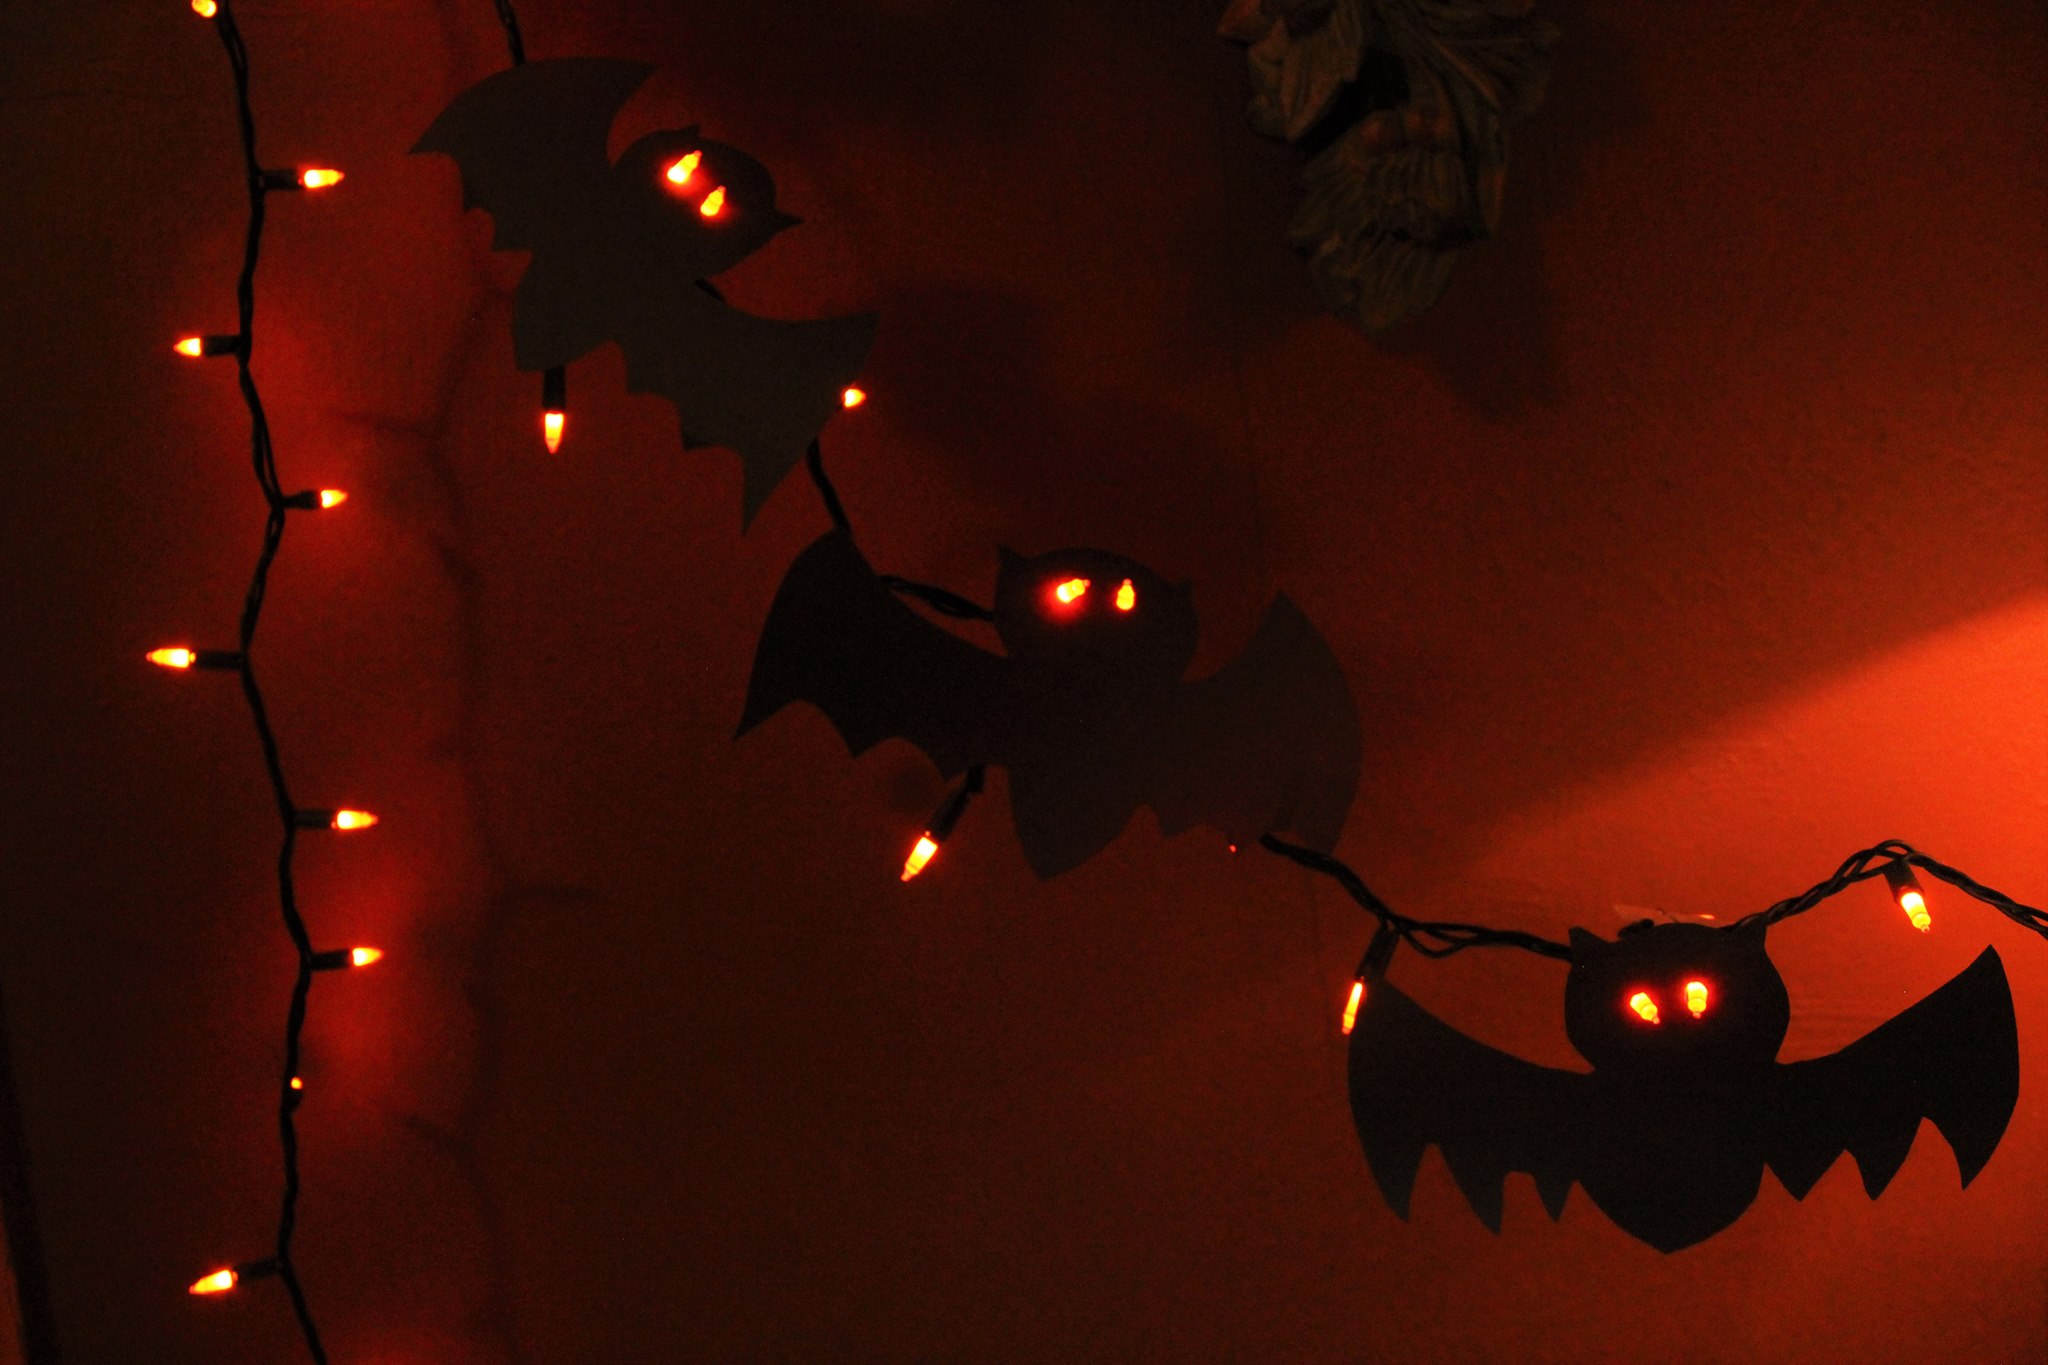
Now, add the bats to the lights by sticking the small lights inside the holes on the bats’ head. This gives the effect that the bats’ eyes are glowing.
Enjoy a nice piece of pumpkin pie, or watch a scary movie while sitting near these Halloween-themed string lights this fall.
Contact the writer: [email protected]


