Pinning with Margaret: How to do photo transfers to wood
November 10, 2016
This photo transfer to wood is a unique way to display pictures. It’s simple, inexpensive and relatively quick to do.
Here is what you will need:
· a printer
· temporary tattoo paper
· piece of wood no bigger than 11 inches wide
· washcloth
· scissors
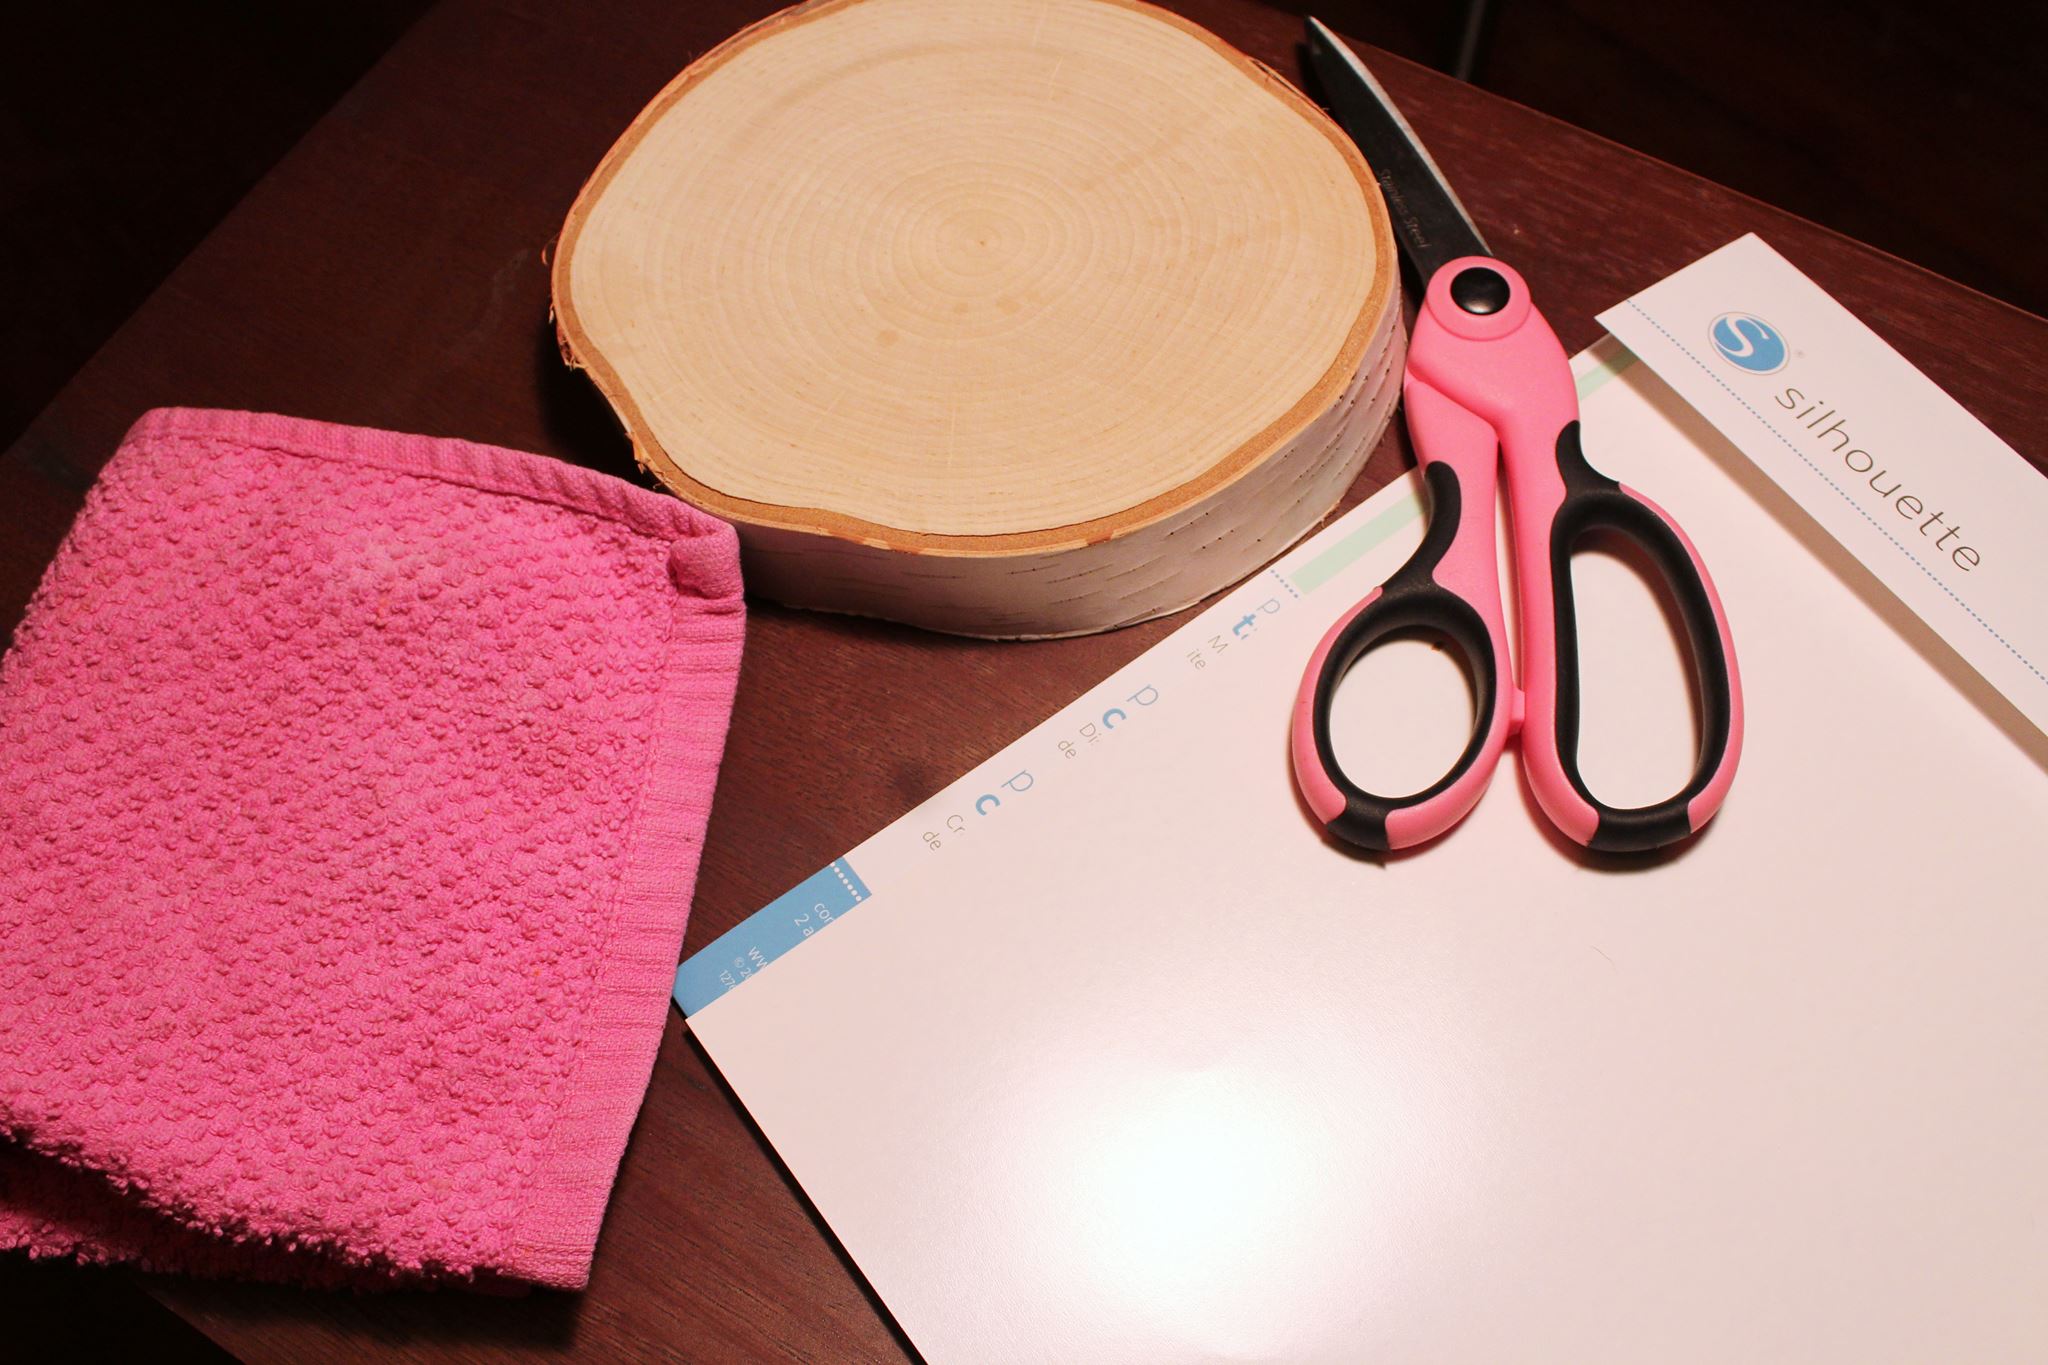 Photo credit/ Margaret Scott
First, take the temporary tattoo paper and place it in the printer. Before printing the picture, make sure that image is flipped so it appears as a mirror image to the original photo. This is so it transfers properly to the wood in the next few steps.
To ensure the best quality of the picture, use the automatic setting on the printer for photos.
After printing the picture, cut around it leaving plenty of room for it to fit on the wood.
Remove the plastic layer of the paper as if peeling back a temporary tattoo. Carefully place the picture faced down in the center of the wood. Be careful during this process, once it’s placed on the wood, adjusting it will ruin the picture.
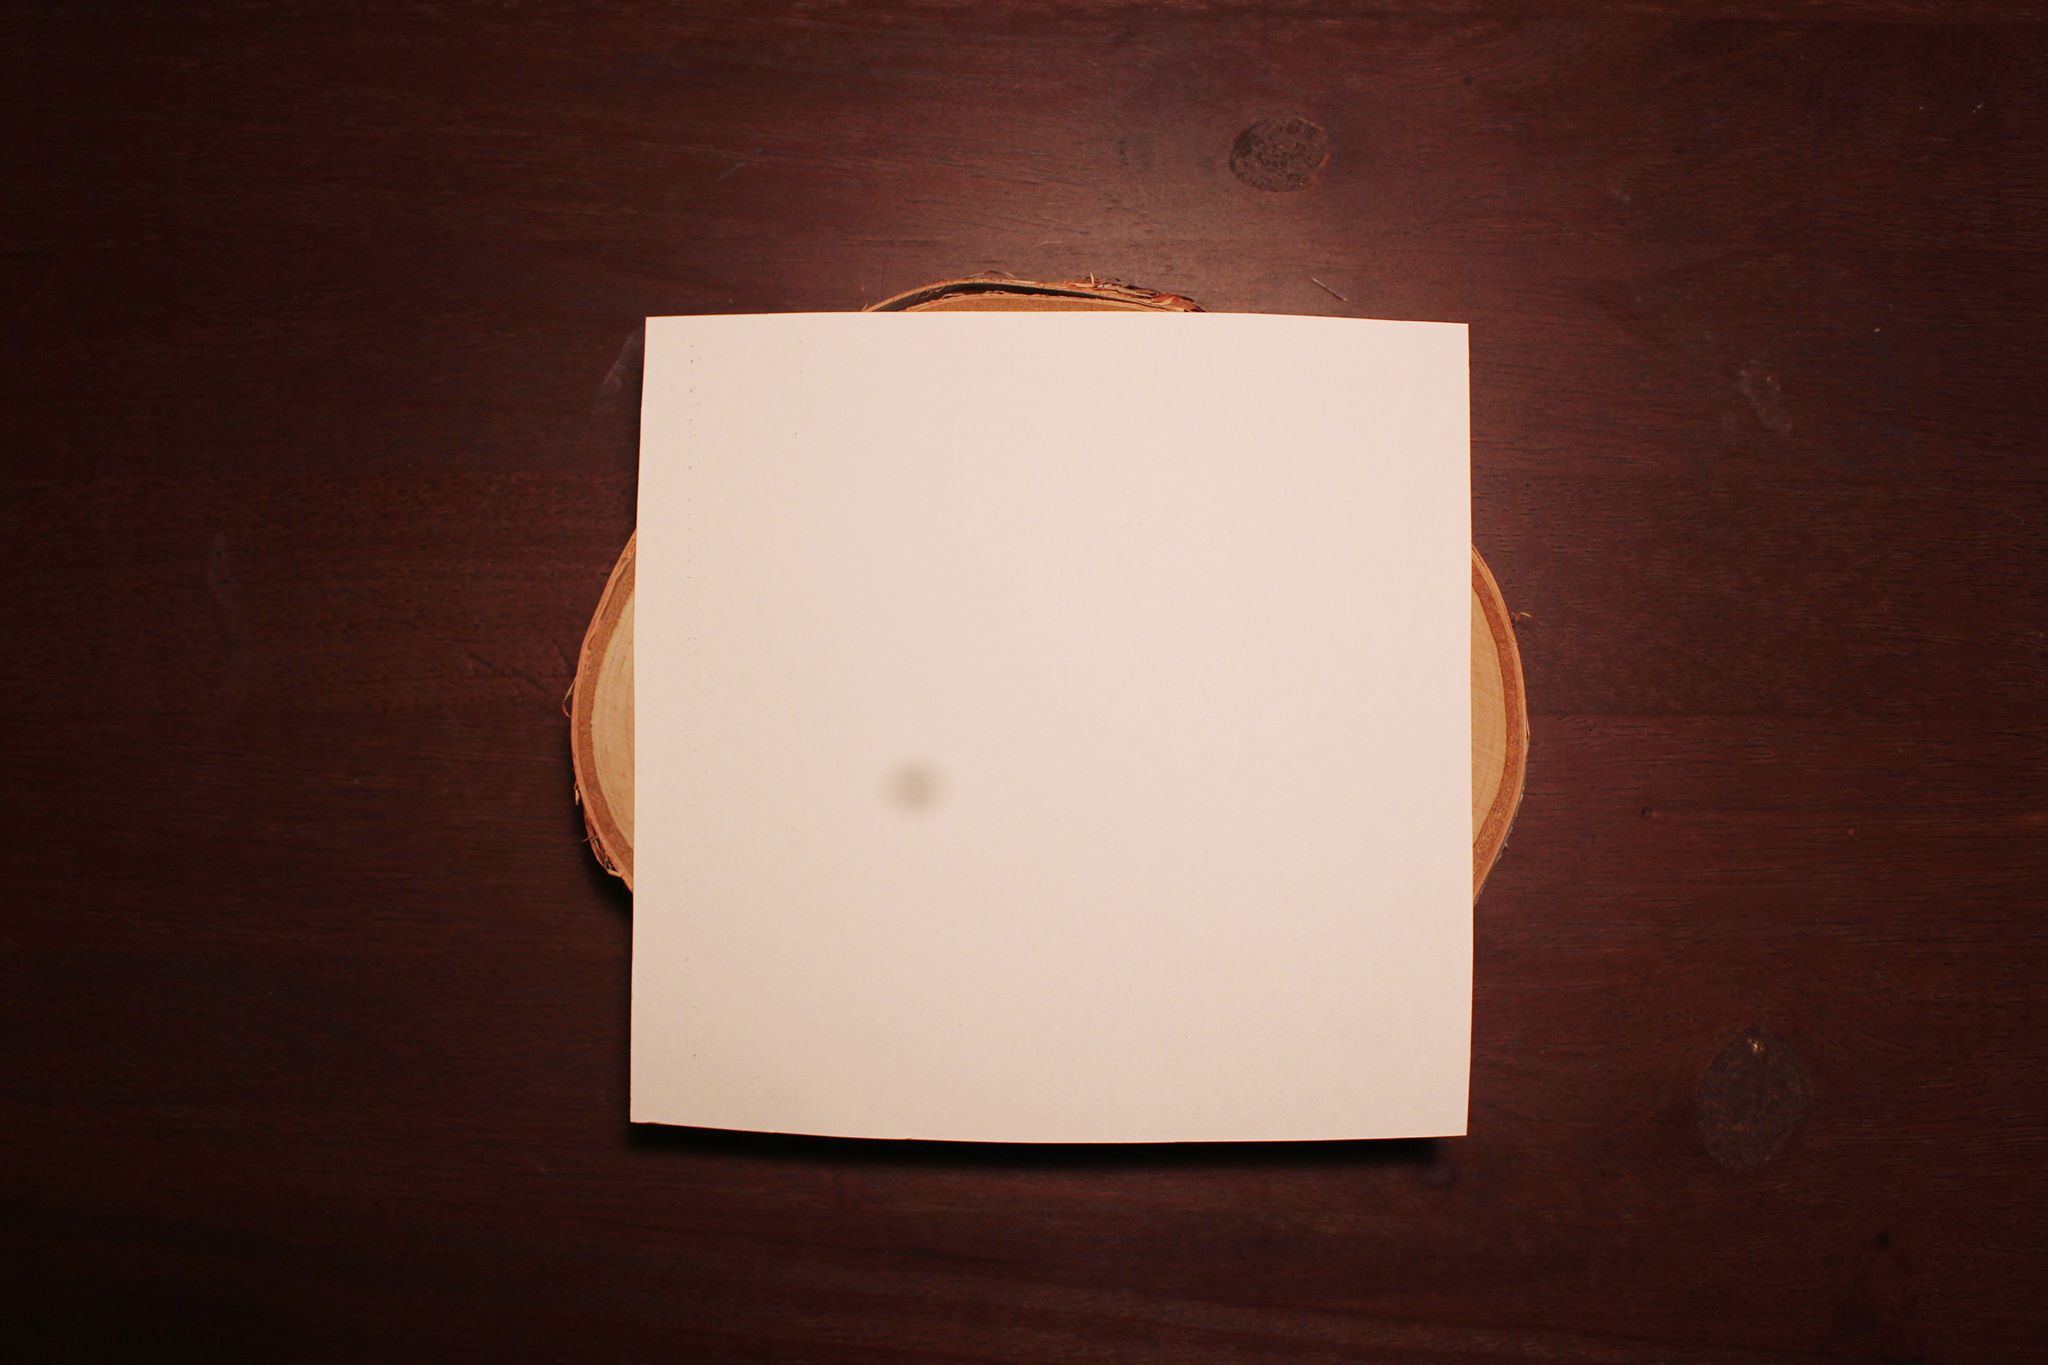 Photo credit/ Margaret Scott
This is when the transferring process begins. Take the washcloth and get it wet. Don’t soak the washcloth in water, but dampen it enough that the picture starts to show through after dabbing it a few times on the back of the picture.
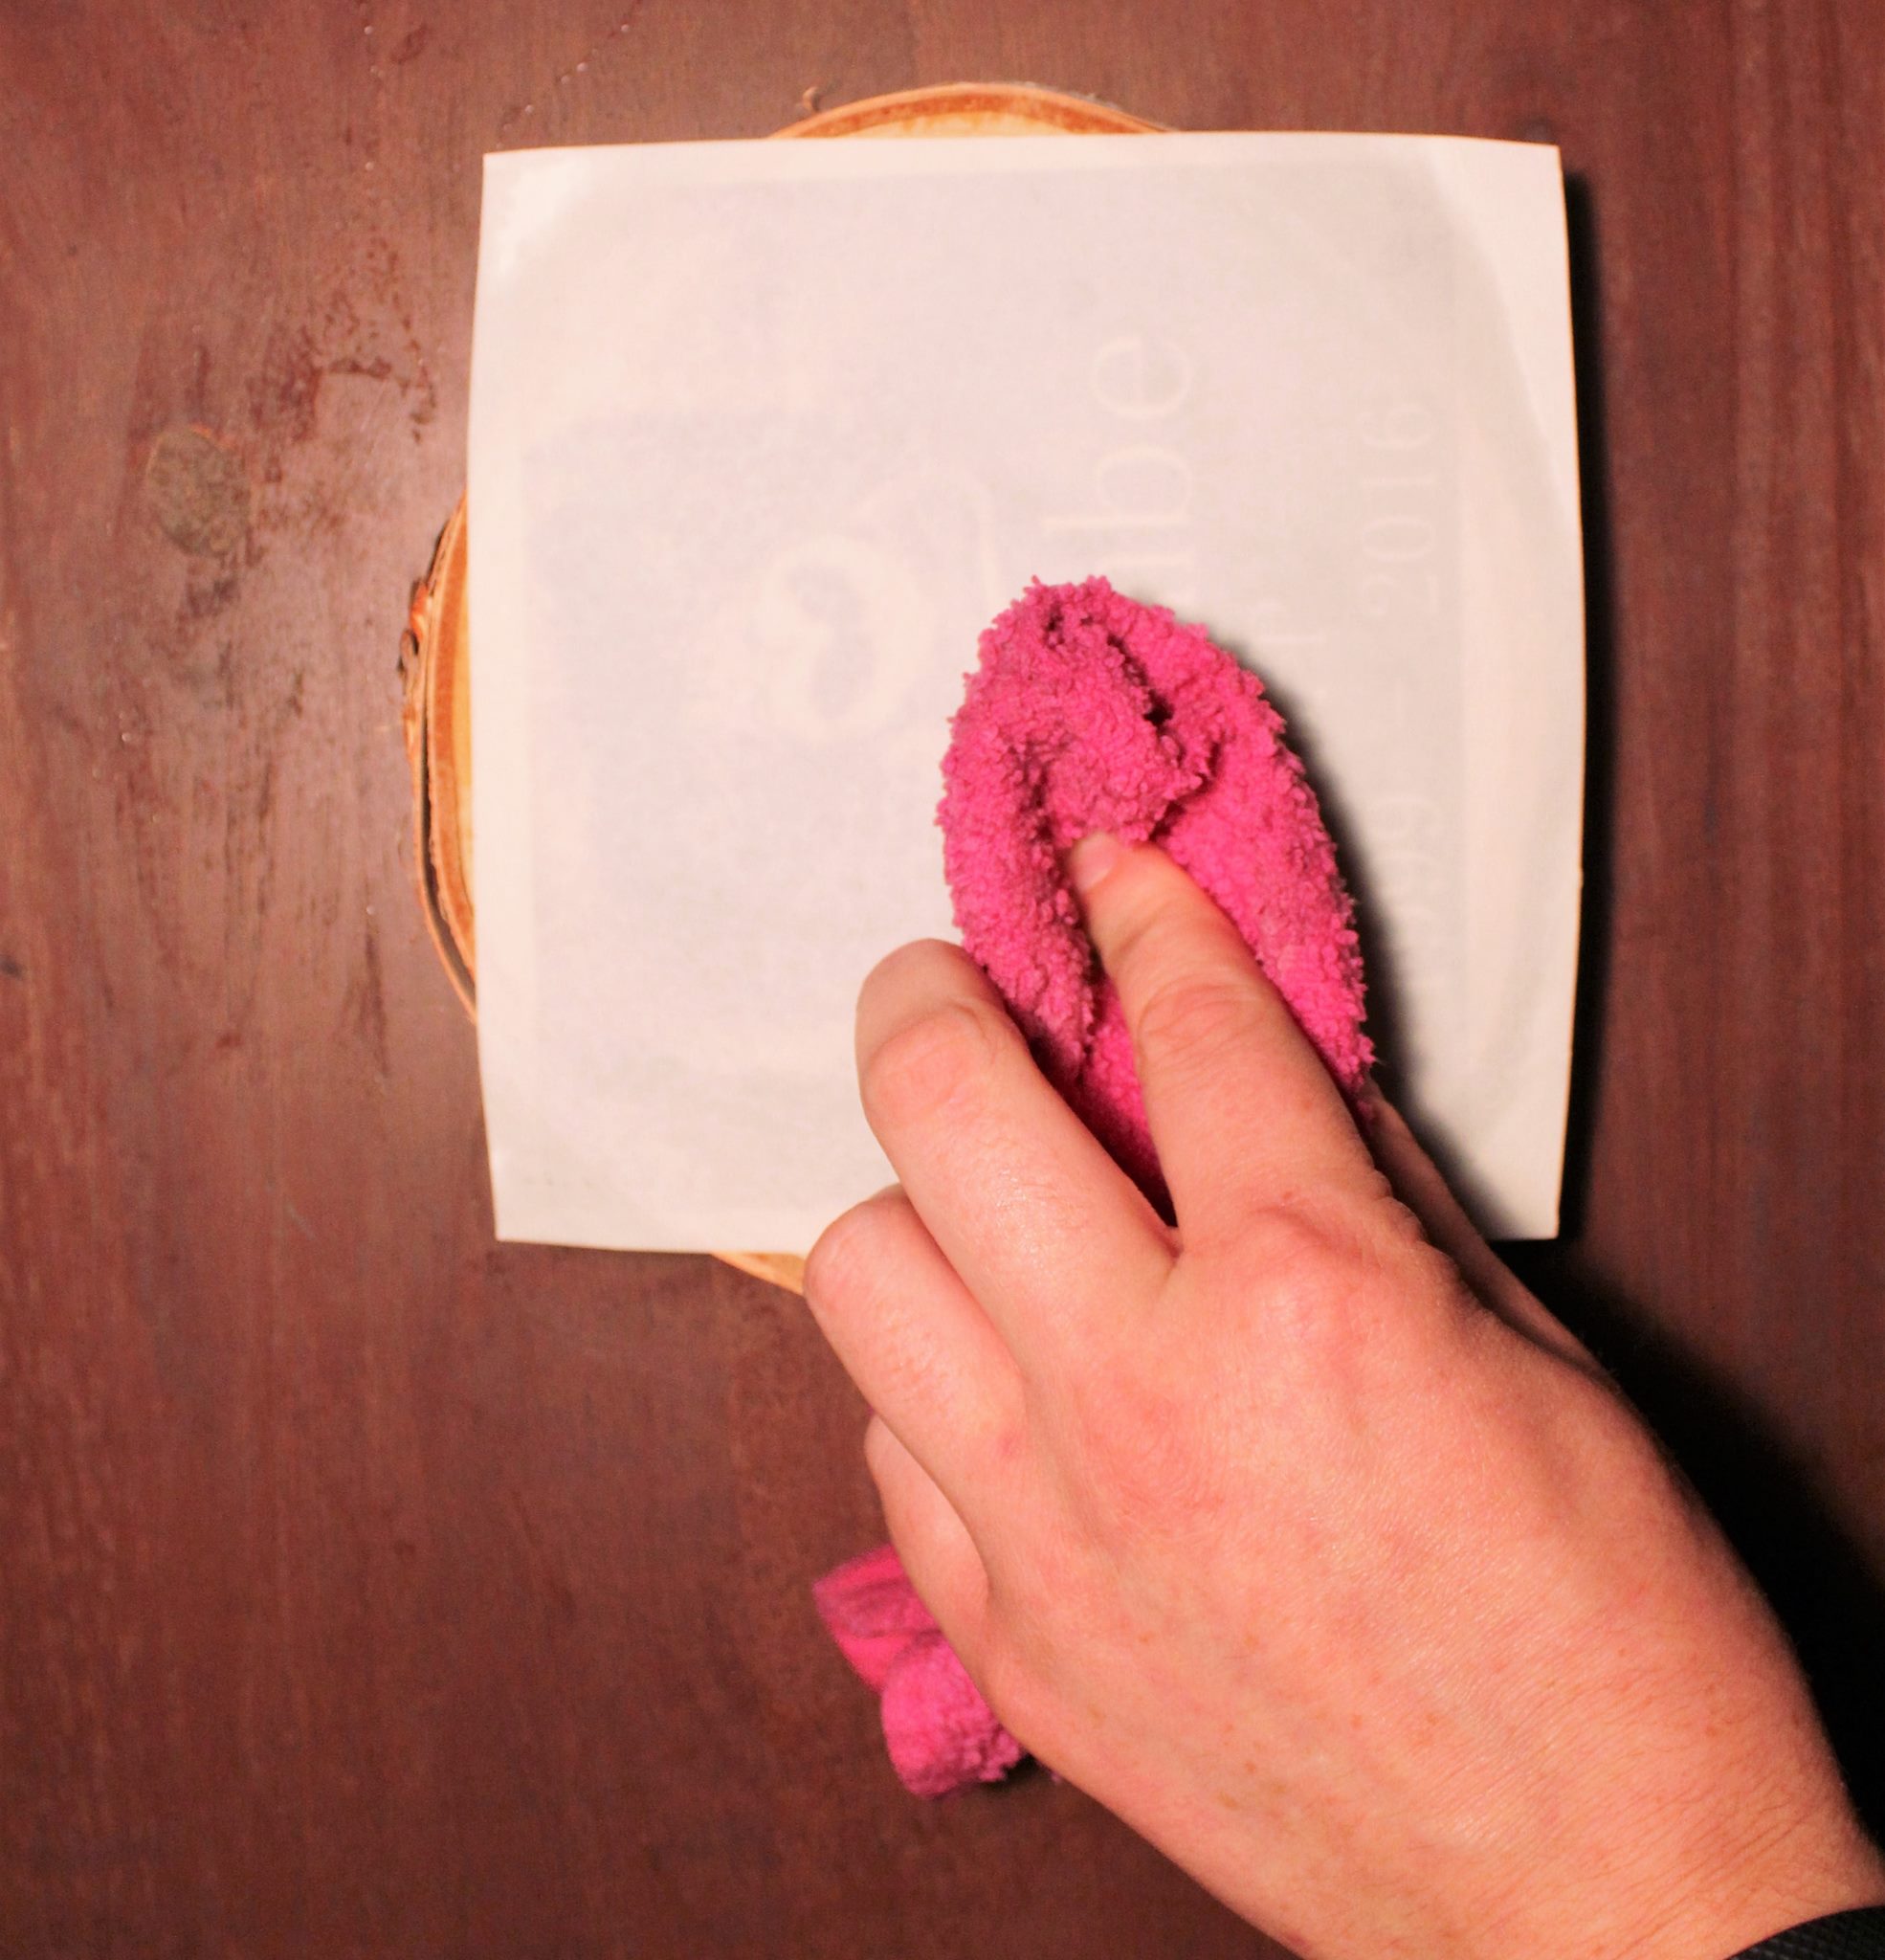 Photo credit/ Margaret Scott
Once the picture is completely transferred to the wood, slowly peel back the paper. Underneath, you should find the picture covering the wood completely. If the edges are sticking out slightly, just dab the washcloth around the wood a few times and it will smooth down.
Tip: Add a thin layer of Mod Podge over your picture after an hour or two to give it a glossy finish.
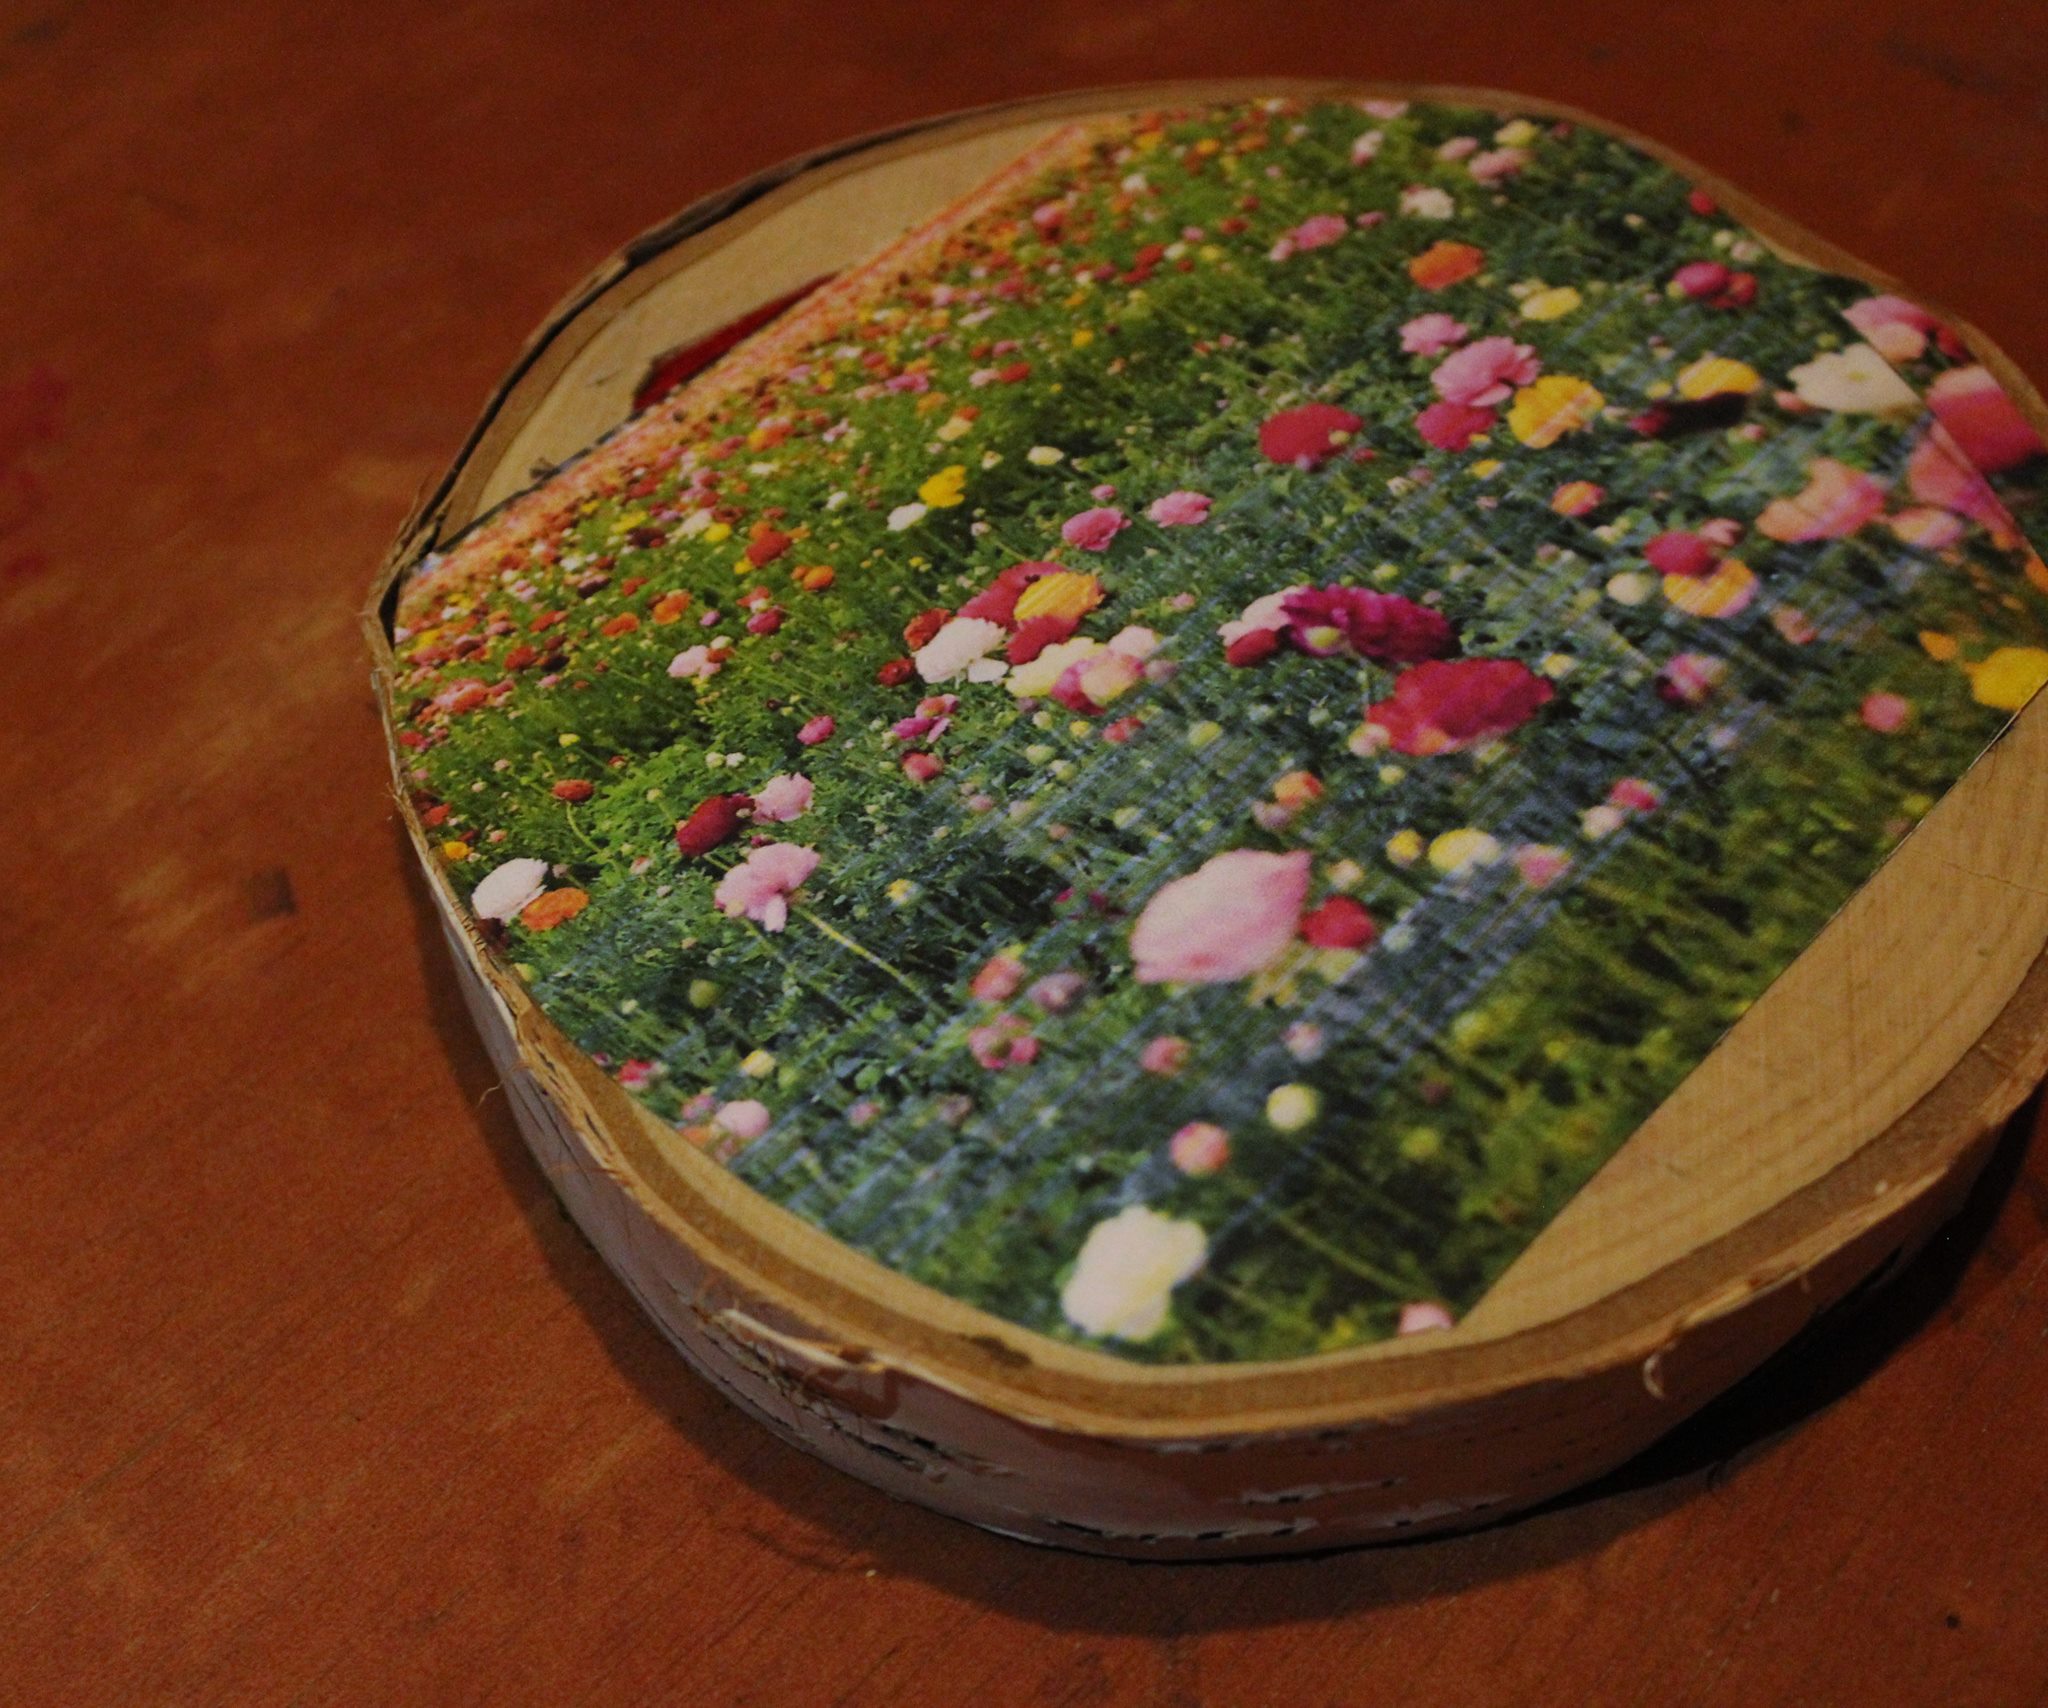 Photo credit/ Margaret Scott
There you have it! This is a creative, personal, and inexpensive gift for a friend or family member.
Contact the writer: [email protected]


